
Raspberry Pi 5 eGPU guide: using an AMD RX 6700 for local LLM inference
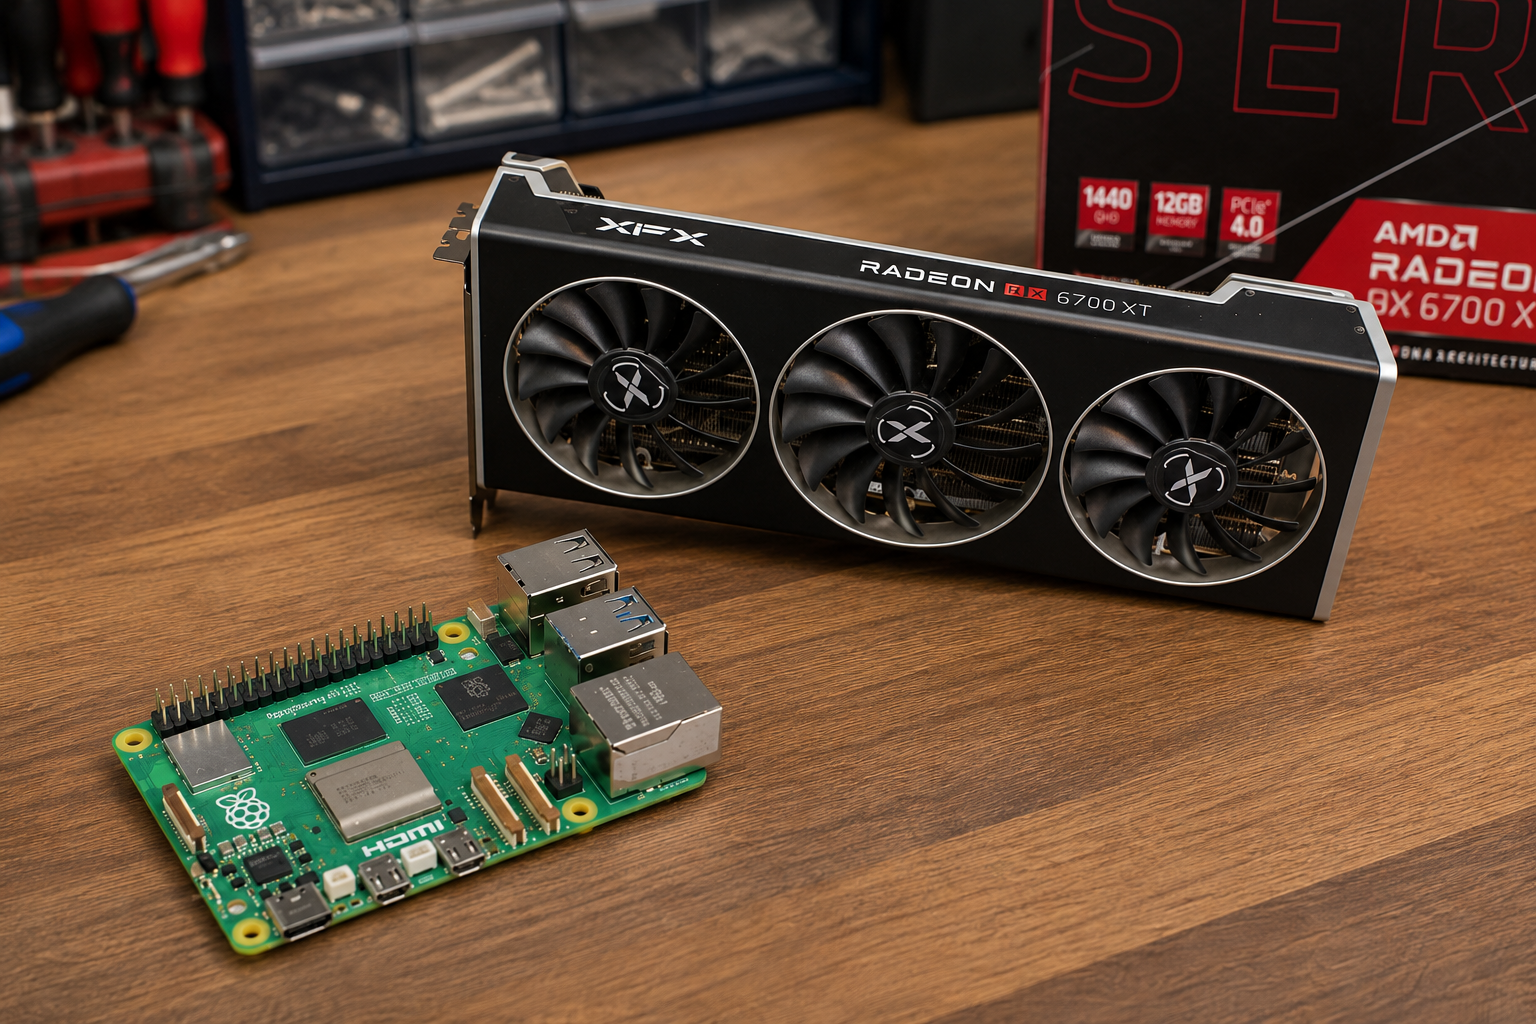
There is a certain kind of project that is hard to justify on paper and impossible to ignore once it starts working.
A Raspberry Pi 5 connected to a desktop GPU is one of those projects.
On the surface, it sounds wrong. The Pi 5 only exposes a PCIe 2.0 x1 link, which is a severe bandwidth constraint by desktop standards. Nobody should confuse that with a normal x16 slot. But that does not make the setup useless. It just means you need to aim it at the right problems.
For gaming, this is a bad idea. For learning, experimentation, Vulkan compute, and GPU-accelerated local inference on a low-cost ARM platform, it gets a lot more interesting.
This guide walks through a verified Raspberry Pi 5 external GPU setup using an AMD Radeon RX 6700, including PCIe configuration, driver checks, Vulkan validation, and llama.cpp with GPU acceleration.
The workflow here also lines up well with Jeff Geerling’s Raspberry Pi 5 eGPU documentation and the companion YouTube walkthrough for this build path.
Why even do this?
Because “can it be done?” is only the first question.
The better question is whether the result can do anything useful. In this case, the answer is yes, with some important caveats.
A Raspberry Pi 5 plus a discrete AMD GPU makes sense if you want to:
- explore PCIe devices on Raspberry Pi hardware
- learn more about Linux graphics and driver stacks on ARM
- run Vulkan-backed compute workloads
- experiment with local LLM inference on unusual hardware
- build compact, low-cost AI nodes for research and prototyping
What it does not make sense for is pretending the Pi 5 can turn a desktop GPU into a normal gaming machine. The PCIe bottleneck is real, and it shapes everything about this build.
What the Raspberry Pi 5 is working with
The Pi 5 is built around Broadcom’s BCM2712 SoC and exposes a single PCIe lane.
Here is the practical reality of the platform:
- PCIe version: 2.0
- Lane width: x1
- Maximum throughput: about 500 MB/s
- Typical connection path: FFC cable to M.2 HAT+ or adapter, then riser to GPU
Compared to a desktop system, that bandwidth is tiny. The GPU still uses its own VRAM, which helps for inference workloads, but large host-to-device transfers remain constrained.
That is why this setup works better for compute experiments than for graphics-heavy interactive workloads.
Hardware used
The verified setup documented here uses:
- Raspberry Pi 5
- AMD Radeon RX 6700
- PCIe FFC adapter for the Pi 5
- PCIe x16 riser or M.2-to-x16 adapter
- dedicated ATX power supply for the GPU

A few practical notes before diving into software:
- the GPU must be powered externally
- riser quality matters more than people expect
- power the GPU before booting the Pi
- Gen3 should not be the first thing you force if the system is not already stable
If the hardware path is flaky, the software side will waste your time.
Getting the Pi 5 to see the GPU
The first step is enabling PCIe support in the Raspberry Pi firmware configuration.
Edit:
/boot/firmware/config.txtAdd:
dtparam=pciex1
dtparam=pciex1_gen=3
Then reboot:
sudo rebootdtparam=pciex1 enables the PCIe lane, while dtparam=pciex1_gen=3 forces Gen3 signaling. If the link is unstable, remove the Gen3 line and return to a known-good baseline.
A note of caution here: Gen3 can work, but it is not where you want to start if the goal is a dependable system. If you see instability, back off and test from a known-good baseline instead of assuming every failure is a driver issue.
Confirming PCIe detection
Once the system is back up, install pciutils and check whether the card enumerates properly:
sudo apt update
sudo apt install -y pciutils
lspci -nn
lspci -nn | grep -Ei 'vga|display|amd|ati'
Expected output should include an AMD/ATI VGA or display controller entry for the RX 6700.
If the GPU does not show up here, stop.
- remove Gen3 forcing
- check the riser
- confirm PSU power
- reseat the FFC cable
At that point you are dealing with a hardware, adapter, riser, power, or PCIe initialization problem. There is no reason to keep pushing deeper into the software stack until enumeration works consistently.
Installing AMD firmware and userspace support
Once the card is visible over PCIe, install the AMD graphics firmware and Vulkan tooling:
sudo apt install -y firmware-amd-graphics mesa-vulkan-drivers vulkan-toolsThen reboot.
Then check whether the amdgpu driver is loading correctly:
lsmod | grep amdgpu
dmesg | grep -i amdgpu
ls -l /dev/dri/
On a healthy setup, you should expect device nodes like card0 and renderD128.
This is the stage where you want to confirm the kernel, firmware, and device nodes all line up. If amdgpu is not loading or /dev/dri/ looks wrong, fix that first before moving on.
Validating Vulkan
For this setup, Vulkan is the checkpoint that matters.
Run:
vulkaninfo --summaryIf that succeeds, you have crossed the main line from “the card exists” to “the GPU stack is usable.”
- PCIe link established
- kernel driver attached
- firmware loaded
- Vulkan functioning
That distinction is important. Plenty of experimental builds can detect a device without being able to do meaningful compute work with it.
Building llama.cpp with Vulkan support
With Vulkan working, you can build llama.cpp to offload work to the GPU.
Install dependencies:
sudo apt install -y git cmake ninja-build build-essential ccache libvulkan-dev vulkan-toolsClone and build:
git clone https://github.com/ggml-org/llama.cpp
cd llama.cpp
cmake -B build -G Ninja -DGGML_VULKAN=ON -DCMAKE_BUILD_TYPE=Release
cmake --build build -j
Then verify the build includes Vulkan support:
./build/bin/llama-cli --help | grep -i vulkanAdding models for llama.cpp
Before llama.cpp can do anything useful, you need a model file in GGUF format.
The simplest approach is to create a models folder inside the project and place your downloaded model there:
mkdir -p ~/llm-models
cd ~/llm-models
From there, download a GGUF model from a source that provides quantized builds. For this example, a good starting point is a Llama 3 family instruct model in a moderate quantization that fits the hardware more comfortably.
A typical workflow looks like this:
cd ~/llm-models
wget https://huggingface.co/bartowski/Llama-3.2-3B-Instruct-GGUF/resolve/main/Llama-3.2-3B-Instruct-Q4_K_M.gguf
This example uses Llama-3.2-3B-Instruct-Q4_K_M.gguf, which is a practical place to start for Raspberry Pi 5 plus eGPU experimentation.
Once the file is downloaded, point llama.cpp at that exact path:
./build/bin/llama-cli -m ~/llm-models/Llama-3.2-3B-Instruct-Q4_K_M.gguf -p "Explain PCIe enumeration on Raspberry Pi 5." -ngl 999If you plan to try multiple models, keep them in the same directory and name them clearly so it is obvious which quantization and parameter size you are testing.
The -m flag selects the model file, while -ngl controls how many layers are offloaded to the GPU. Higher values increase VRAM usage and can improve performance.
Or start the API server:
./build/bin/llama-server -m /path/to/model.gguf --host 0.0.0.0 --port 8082 -ngl 999That gives the Pi 5 an OpenAI-style API endpoint accelerated by the RX 6700.
What kind of performance should you expect?
This is where expectations need to stay grounded.
The PCIe x1 link is the limiting factor, and there is no clever wording that makes it disappear. Large transfers will be bandwidth-constrained. Interactive graphics workloads will feel that pain immediately. That is why gaming is not the point here.
Inference is a better fit, especially with quantized models.
In practice:
- 3B to 7B models are the most sensible target range
- quantized GGUF models make the best use of the setup
- VRAM capacity matters more than raw headline GPU performance
- compute experiments make more sense than trying to build a Pi-powered gaming rig
This kind of setup is especially well suited for:
- headless AI nodes
- edge inference servers
- local LLM APIs
- ARM plus GPU experimentation
This is not a replacement for a desktop workstation. It is a constrained but surprisingly capable inference node if you respect the boundaries of the platform.
Common questions
Can the Raspberry Pi 5 share RAM with the external GPU?
No. A discrete GPU uses its own dedicated VRAM.
Does NVIDIA GPU work on Raspberry Pi 5?
Generally not recommended. AMD GPUs are the more practical route here because the Linux driver path is much friendlier for this class of ARM experiment.
Is PCIe Gen3 stable on the Pi 5?
Sometimes. It can work, but Gen2 is usually the safer baseline if your goal is reliability.
Is Pi 5 plus RX 6700 good for gaming?
No. The PCIe x1 bottleneck makes it a poor gaming platform.
Final thoughts
This project is not compelling because it is efficient.
It is compelling because it teaches you a lot.
It is also a useful platform for:
- exploring PCIe on ARM
- running GPU-accelerated LLM inference
- building low-cost AI nodes
- understanding Linux GPU driver stacks
You learn where PCIe bandwidth actually matters. You learn how Linux GPU drivers behave on ARM. You learn the difference between “device detected,” “driver loaded,” and “usable for real workloads.” And if you care about local AI systems, you end up with a strange but functional platform for GPU-accelerated inference.
That is the real value.
